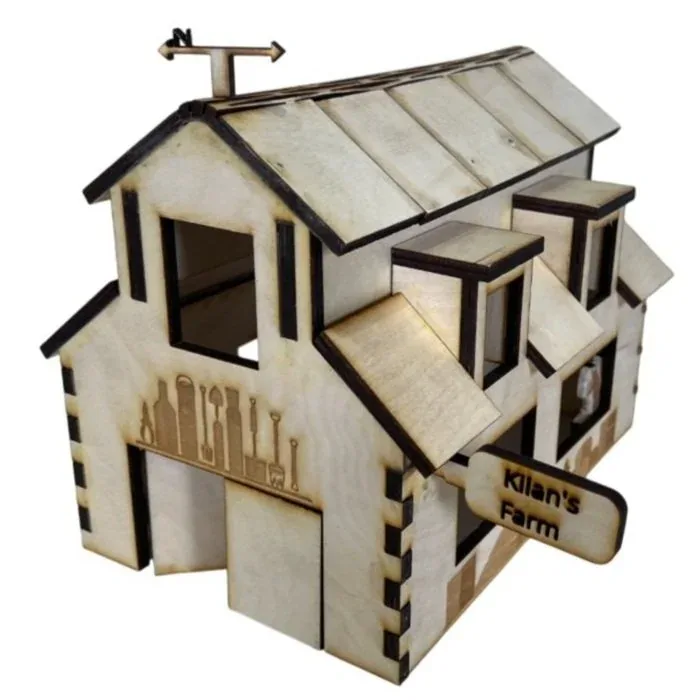
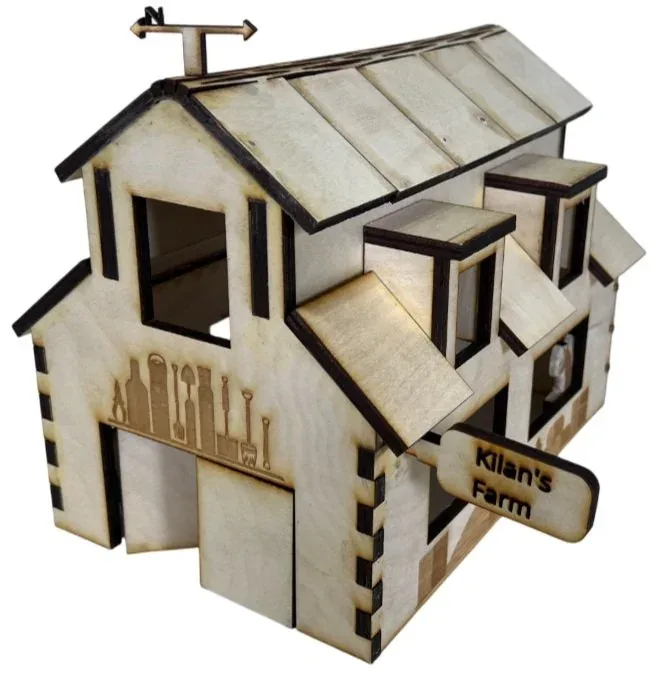
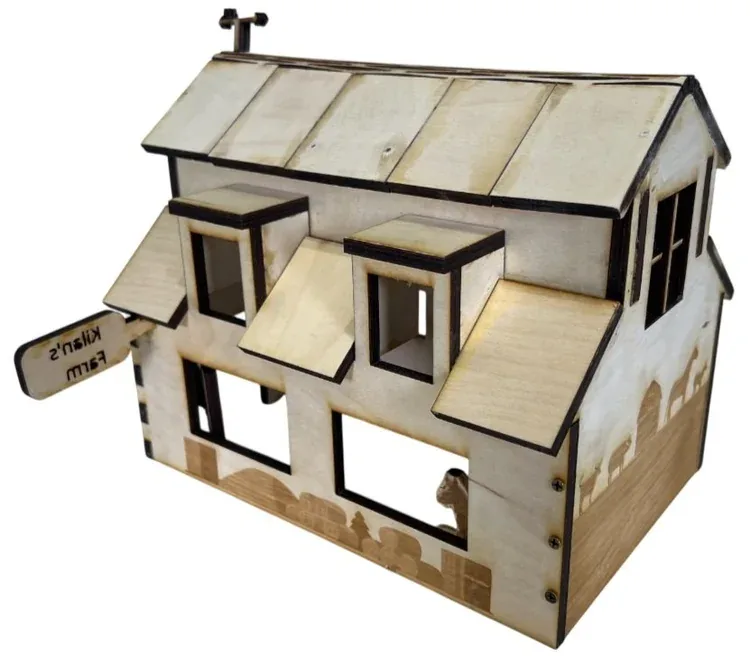
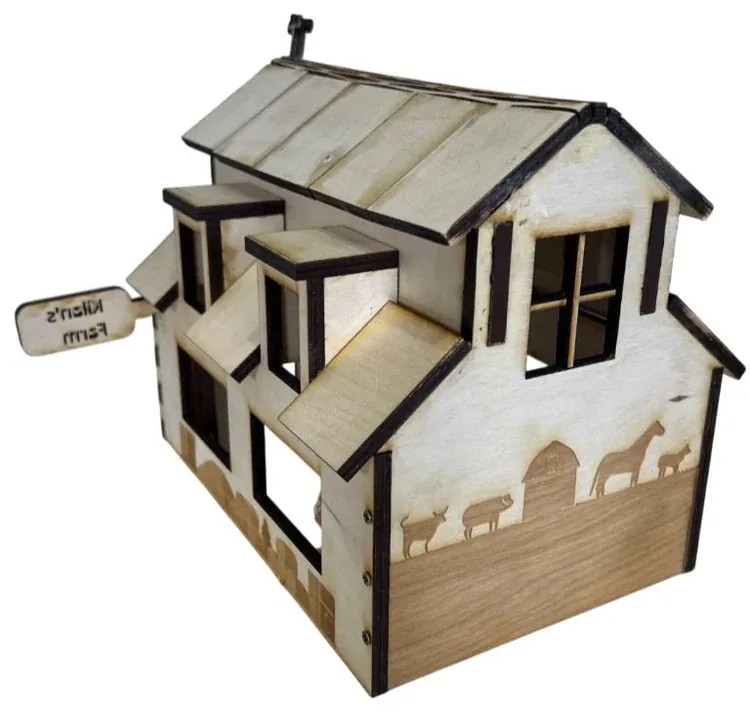
A laser-cut plywood box shaped like a barn, with a hinged door, a curved lattice roof, dormer windows and engraved farm tools and animals on the walls. It is based on my grandfather's farmhouse and on the barn in the mobile game "Hay Day".
Overview
Make a working box that reminds me of my grandfather's farmhouse and uses as many joinery and laser-cutting techniques as I could fit. The requirements:
- Incorporate at least 5 different joint types
- Use at least 4 fastening methods
- Manufacture from a single piece of 1/4" plywood, 18" × 24"
- Include personal design elements that reflect the farm's character
Design
Concept
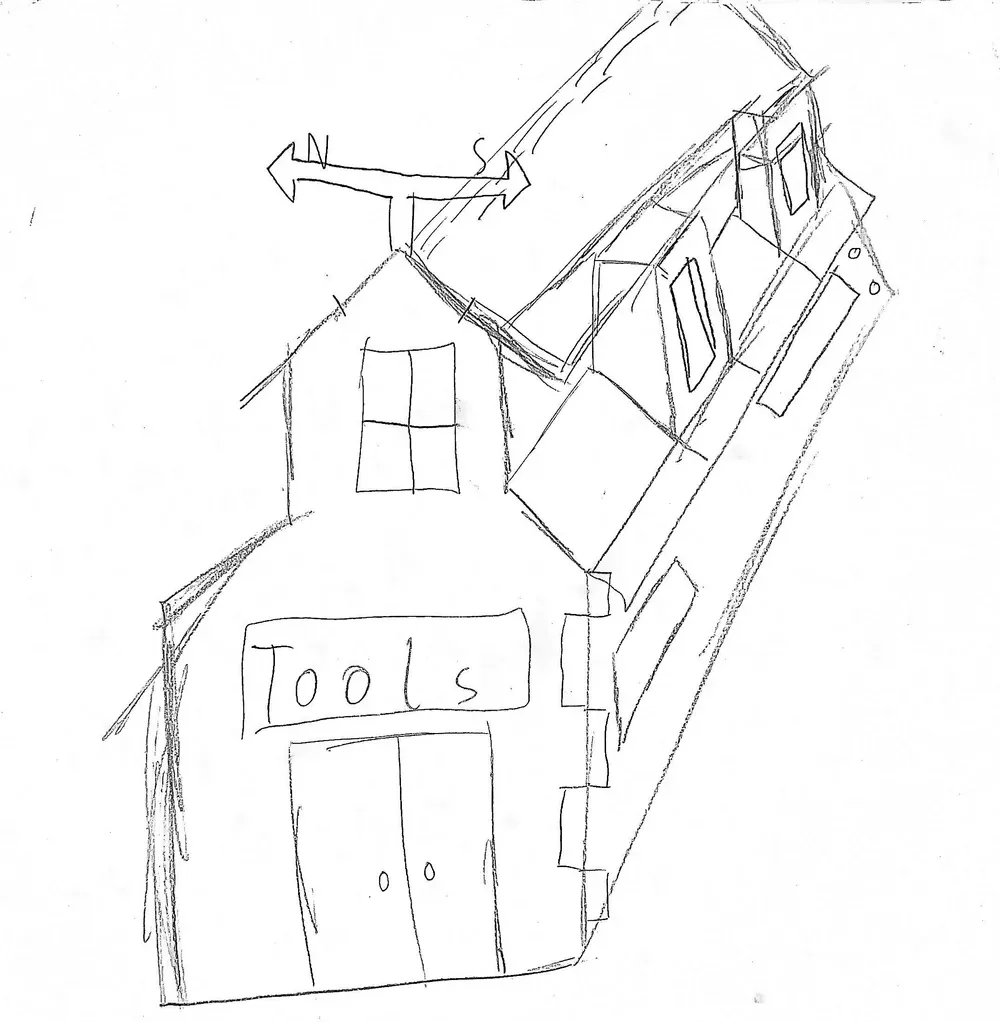
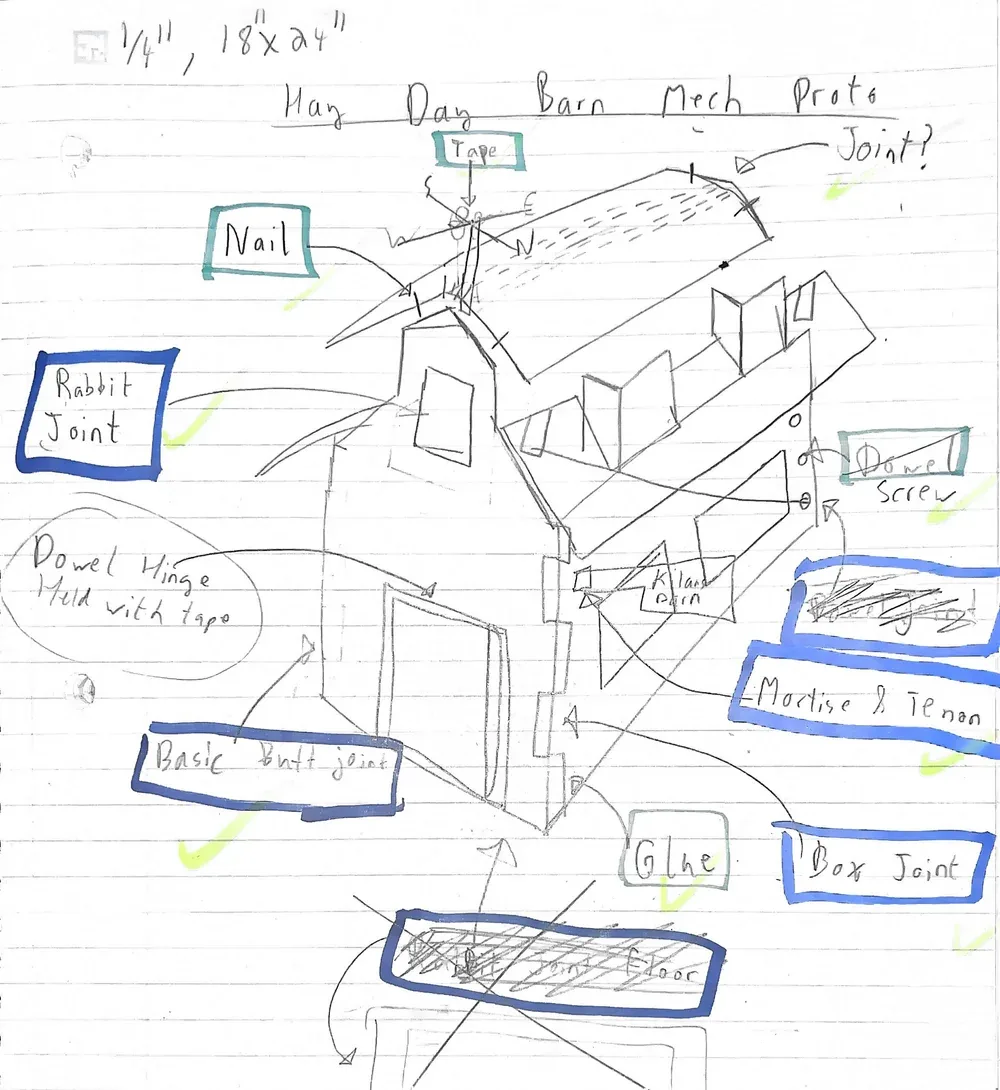
The first sketches worked out which parts of a barn would carry over to a box: roof angle, window placement, where the farm imagery would go, where the joints would sit and how the box would open.
Prototyping
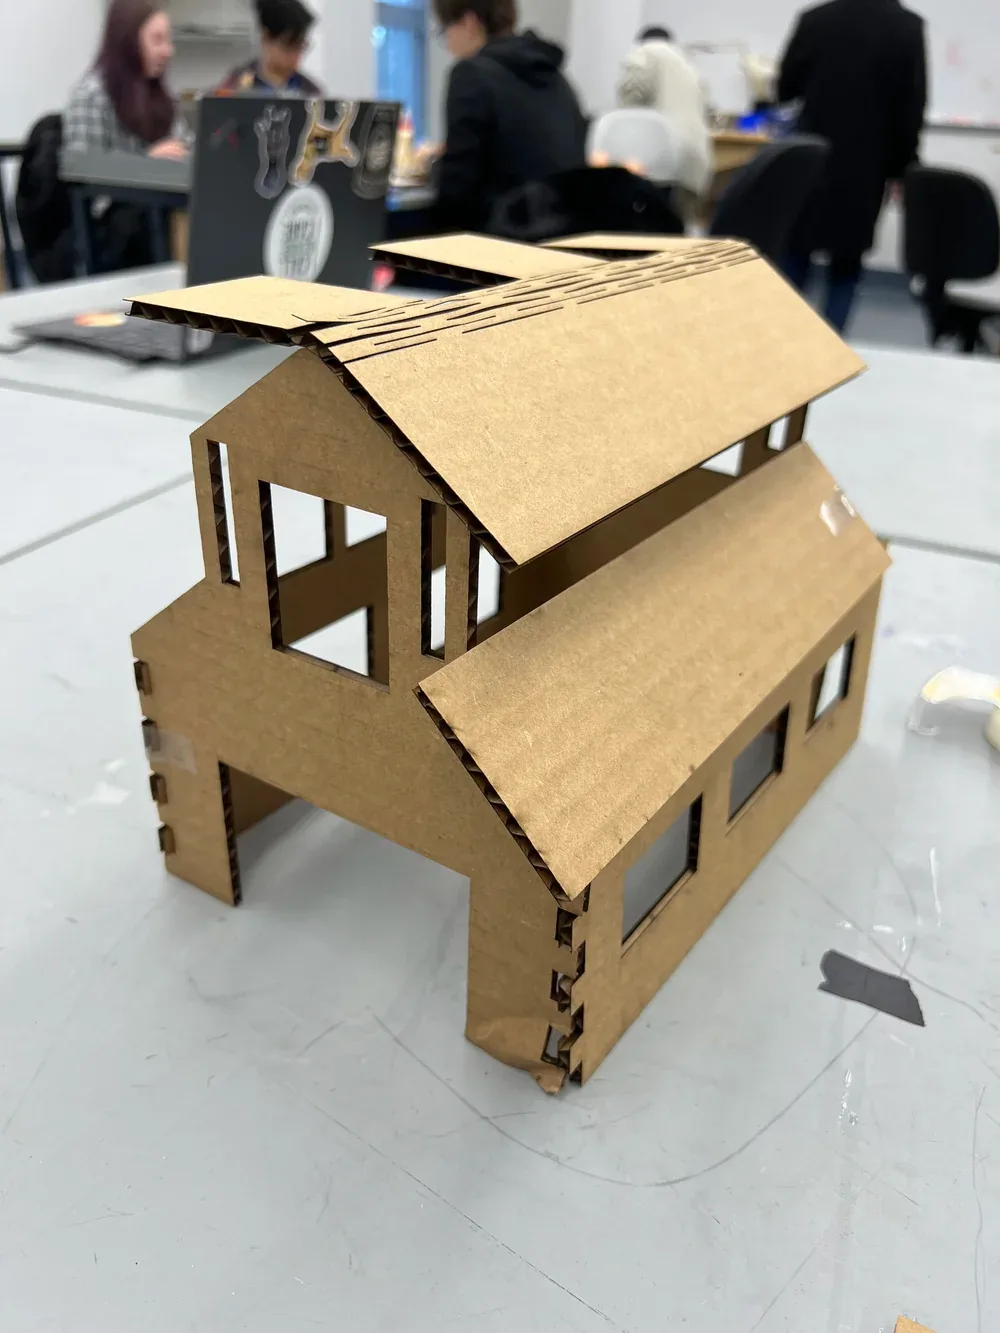
The cardboard prototype settled the box proportions, let me test the joint placements and fit, checked the opening mechanism, and gave me the assembly order. It also turned up more ideas for patterns and details to include.
CAD
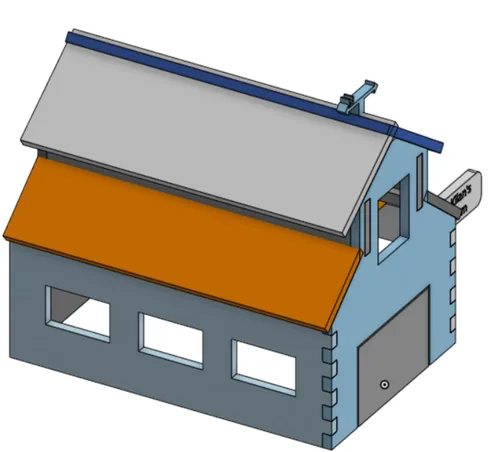
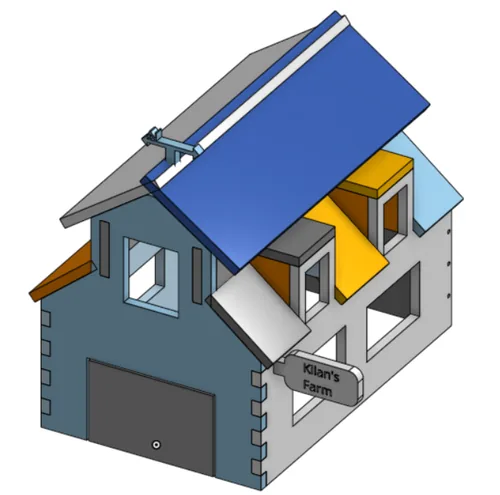
The CAD model set the exact joint dimensions and compensated for the plywood thickness. The roof is modelled flat: the curve of the lattice hinge depends on the material and could not be predicted accurately in CAD.
Build
Laser cutting
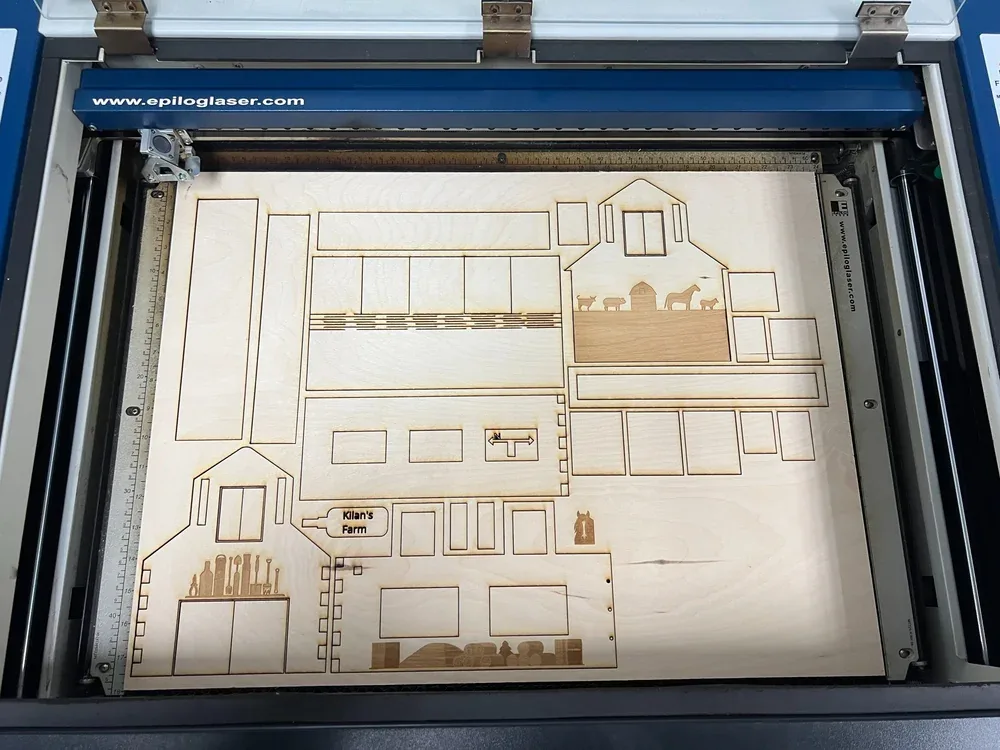
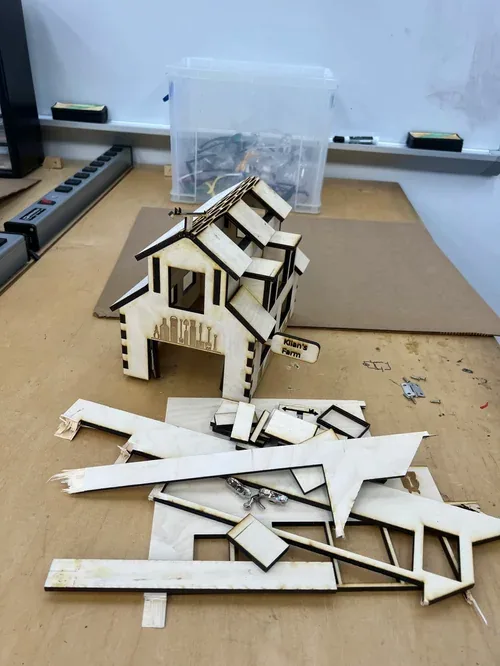
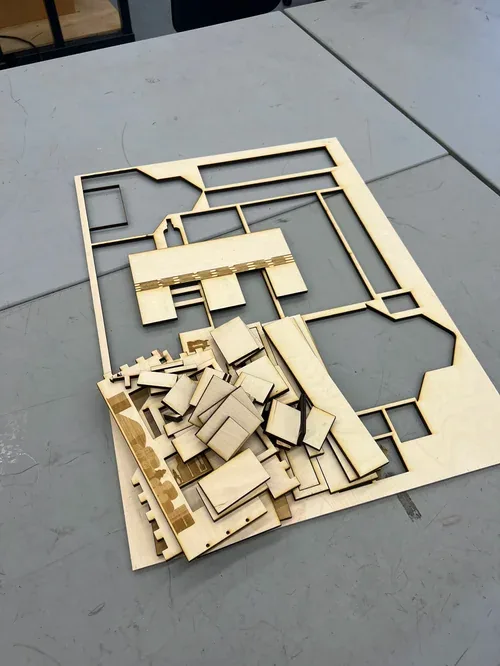
The parts were nested onto the sheet to waste as little plywood as possible, and the decorative engravings were added to the cut file in Adobe Illustrator.
Roof assembly
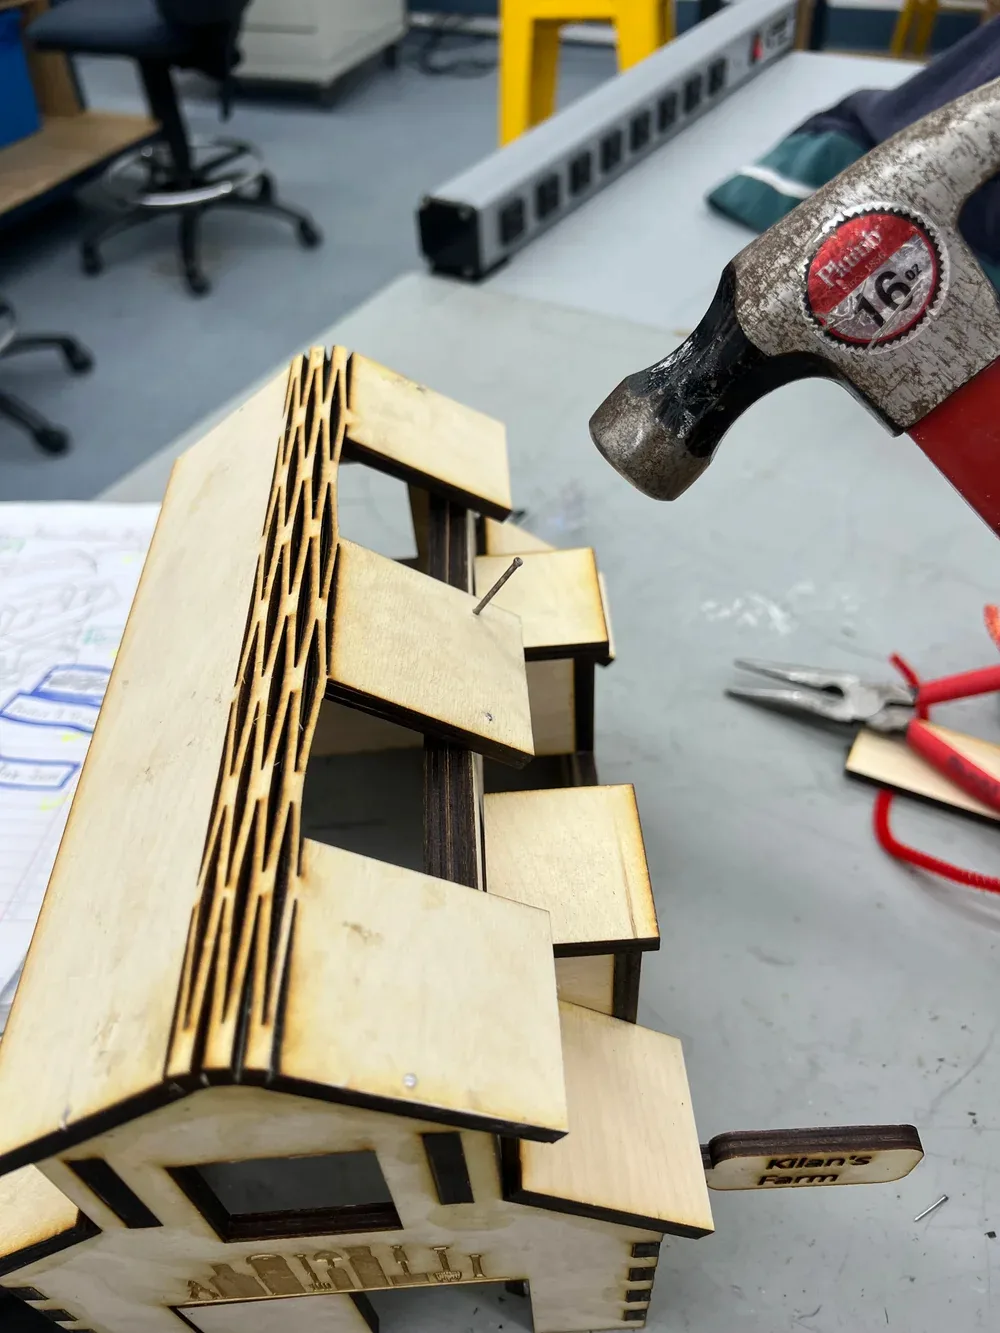
Problem: The straight lattice roof needed the right slot spacing to bend, careful alignment, and a way to fix it to the body that did not spoil the look.
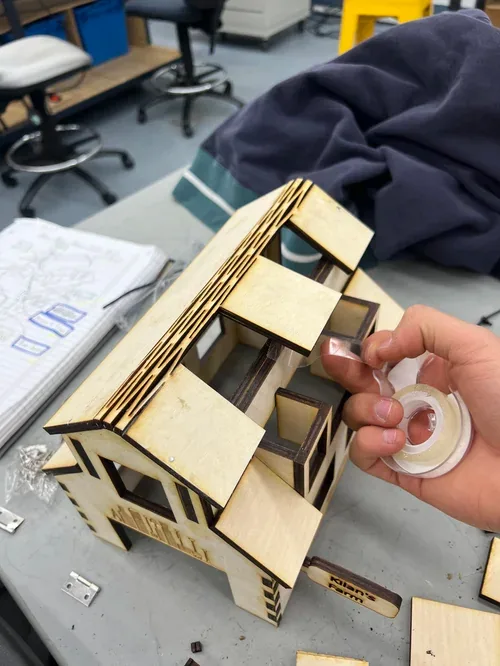
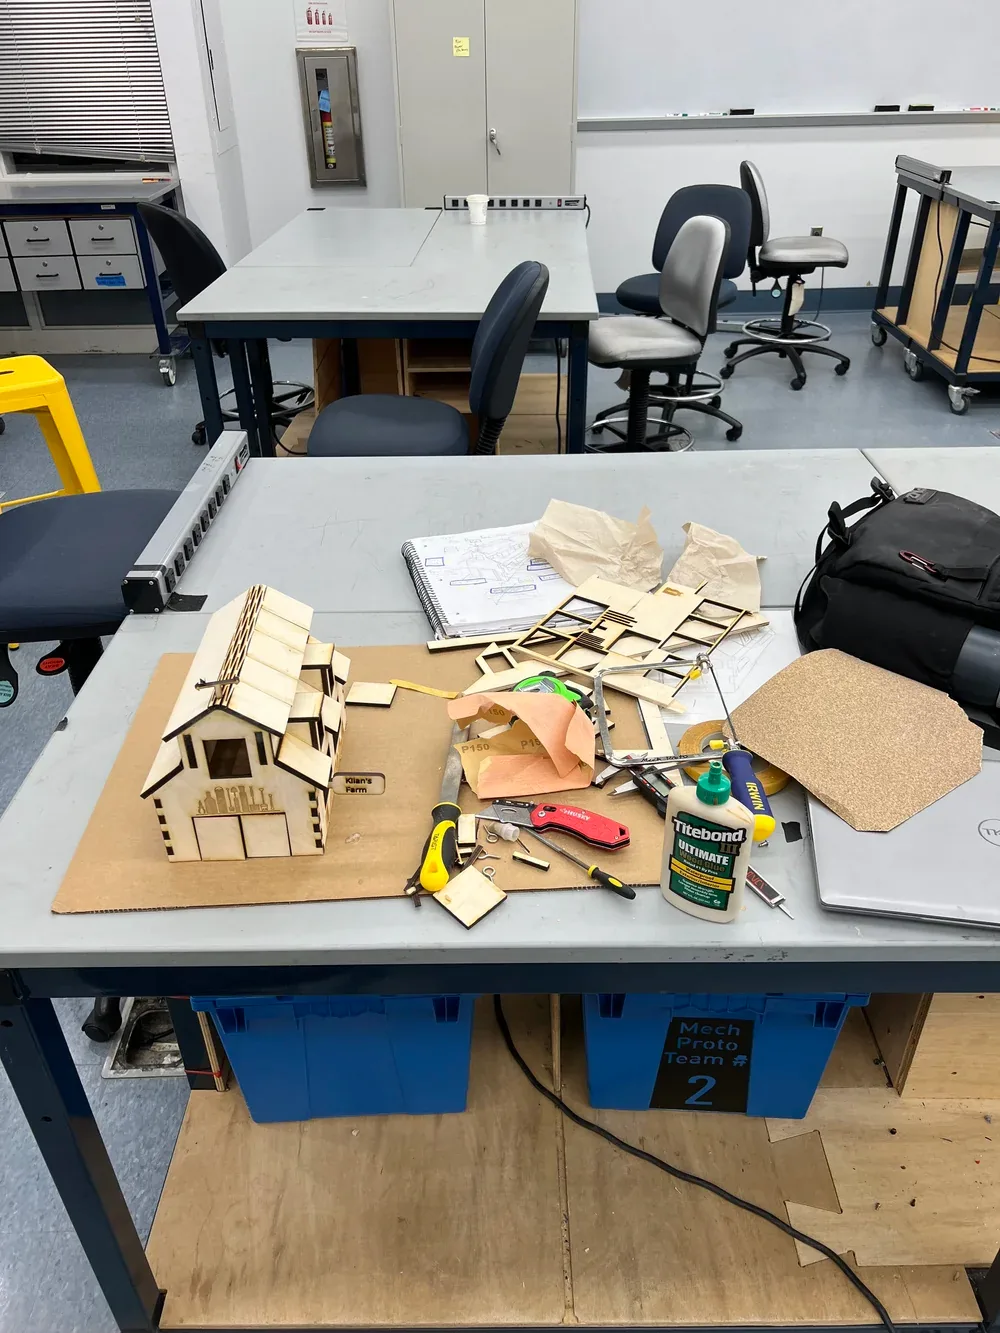
Fix: I looked up lattice hinge spacing, found values that worked for this plywood, and nailed the roof down. Nails held far better than glue and were less visible than the other fastening options. To set the curve I sprayed the hinge with water and clamped it to the body overnight.
Fitting the sheet
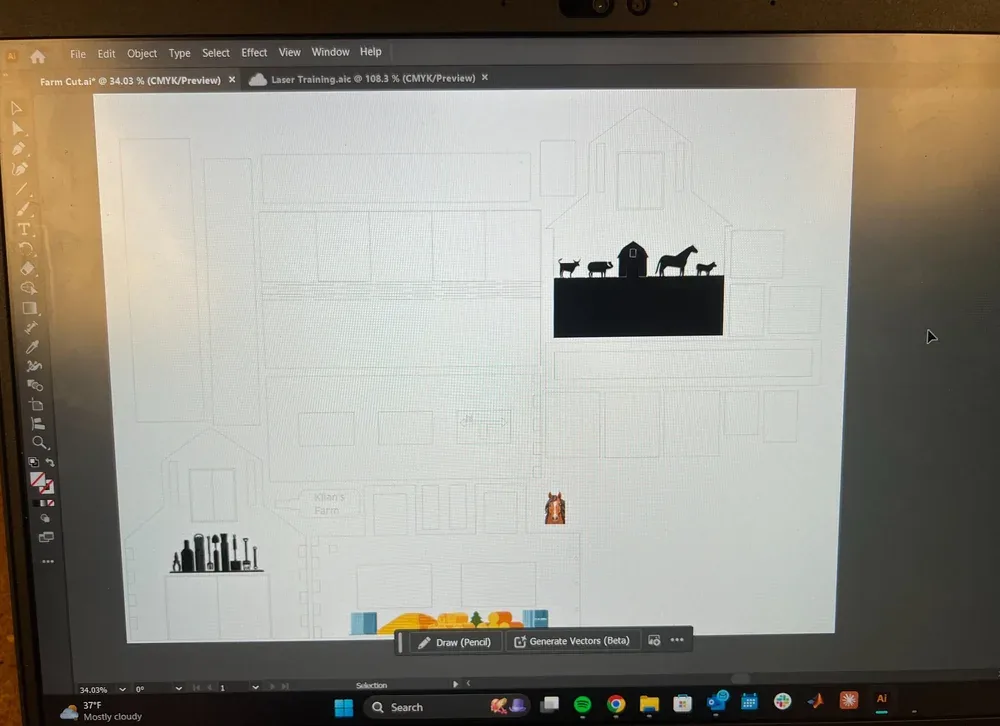
Problem: Every part had to fit on one 18" × 24" sheet with the grain running the right way for strength.
Fix: I exported the parts and nested them in Adobe Illustrator. The first layout did not fit, so I scaled the whole barn down. That was quick because every dimension in the CAD was driven by equations.
Joint selection
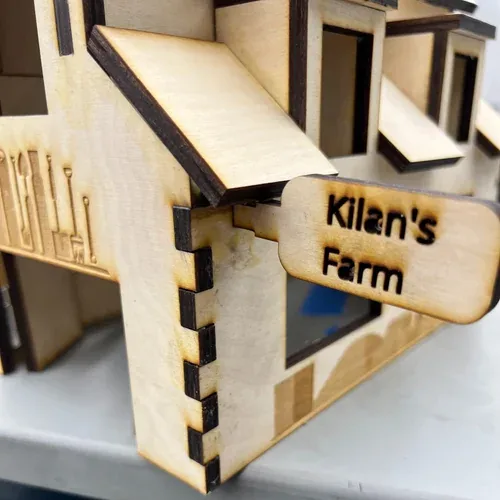
Problem: I needed at least five joint types and four fasteners without making the box weak or hard to assemble.
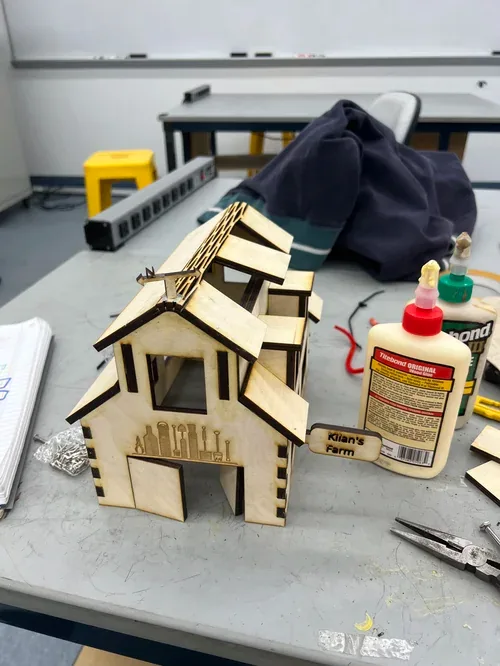
Fix: I picked each joint for where it sits and what it has to do, and added parts specifically to carry a joint, such as the mortise-and-tenon sign. The final list:
Joints
- Box joint (front corners of barn)
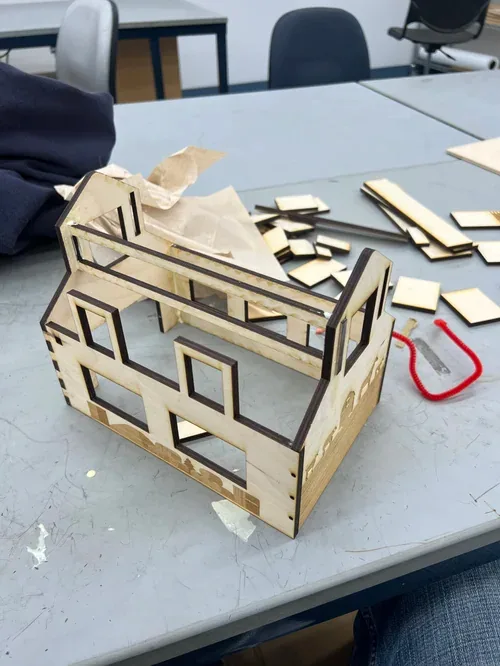
- Half lap joint (window frame)
- Basic butt joint (back side of barn)
- Mortise and tenon joint (barn name sign)
- Straight lattice joint (curved barn roof)
- Hinge (door opening)
Fasteners
- Wood glue (everywhere)
- Screws (back left barn wall and hinges on door)
- Nails (roof attachment)
- Tape and rivet (wind vane attachment)
Assembly
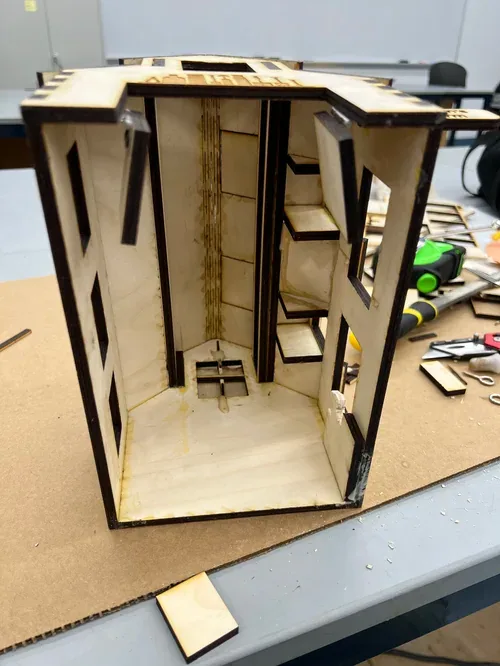
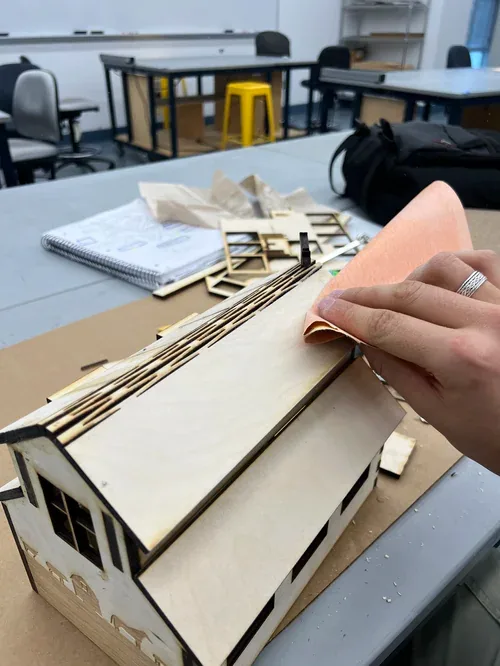
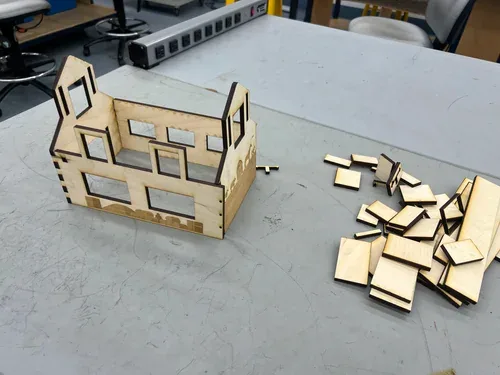
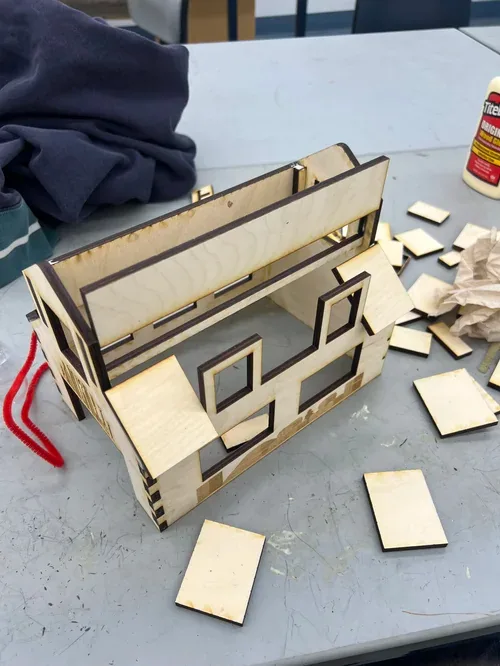
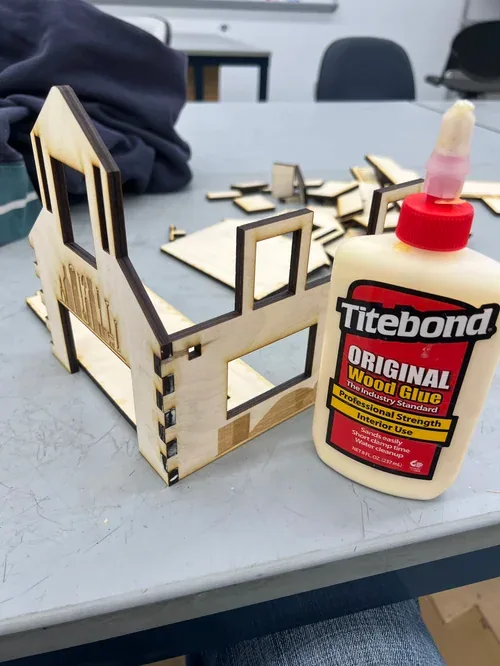
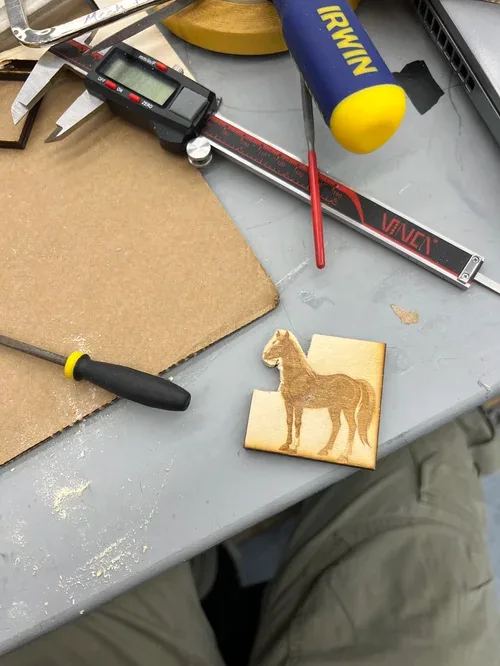
Results
The finished box is a barn with windows, a curved slatted roof and a working door. The walls carry engraved farm tools and animal silhouettes, six joint types and four fasteners hold it together, and everything came from the one sheet.
What I learned
I came out of it comfortable with CAD-to-laser file preparation, kerf compensation, and choosing joints and fasteners for a job. Two things stood out: driving every CAD dimension by equations, which made scaling the whole barn down to fit the sheet a quick change, and testing fasteners instead of assuming, since nails held the lattice roof far better than glue.